Excel Fill
Filling
Filling makes your life easier and is used to fill ranges with values, so that you do not have to type manual entries.
Filling can be used for:
- Copying
- Sequences
- Dates
- Functions (*)
For now, do not think of functions. We will cover that in a later chapter.
How To Fill
Filling is done by selecting a cell, clicking the fill icon and selecting the range using drag and mark while holding the left mouse button down.
The fill icon is found in the button right corner of the cell and has the icon of a small square. Once you hover over it your mouse pointer will change its icon to a thin cross.
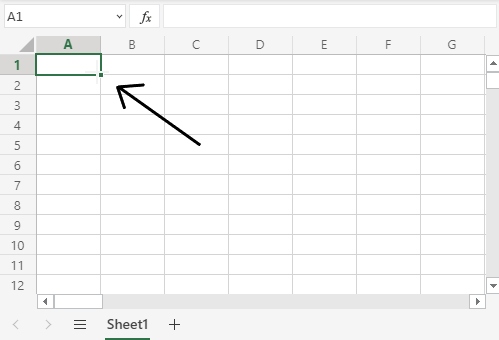
Click the fill icon and hold down the left mouse button, drag and mark the range that you want to cover.
In this example, cell A1 was selected and the range A1:A10 was marked.
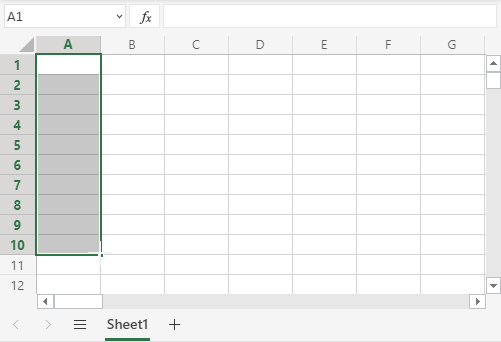
Now that we have learned how to fill. Let's look into how to copy with the fill function.
Fill Copies
Filling can be used for copying. It can be used for both numbers and words.
Let's have a look at numbers first.
In this example we have typed the value A1(1):
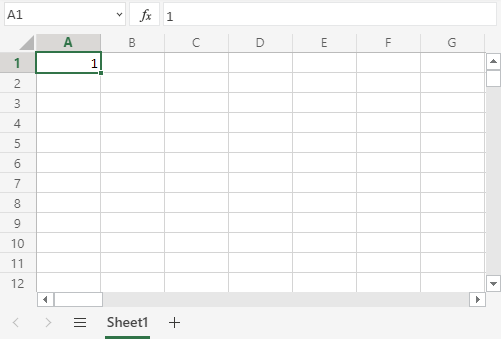
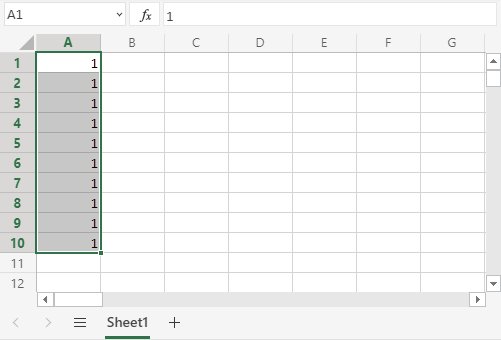
Filling the range A1:A10 creates ten copies of
1:
The same principle goes for text.
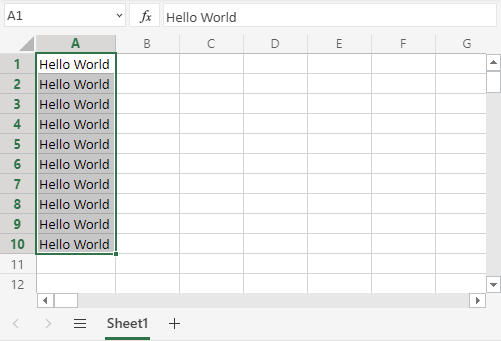
In this example we have typed A1(Hello World).
Filling the range A1:A10 creates ten copies of "Hello World":
Now you have learned how to fill and to use it for copying both numbers and words. Let's have a look at sequences.
Fill Sequences
Filling can be used to create sequences. A sequence is an order or a pattern. We can use the filling function to continue the order that has been set.
Sequences can for example be used on numbers and dates.
Let's start with learning how to count from 1 to 10.
This is different from the last example because this time we do not want to copy, but to count from 1 to 10.
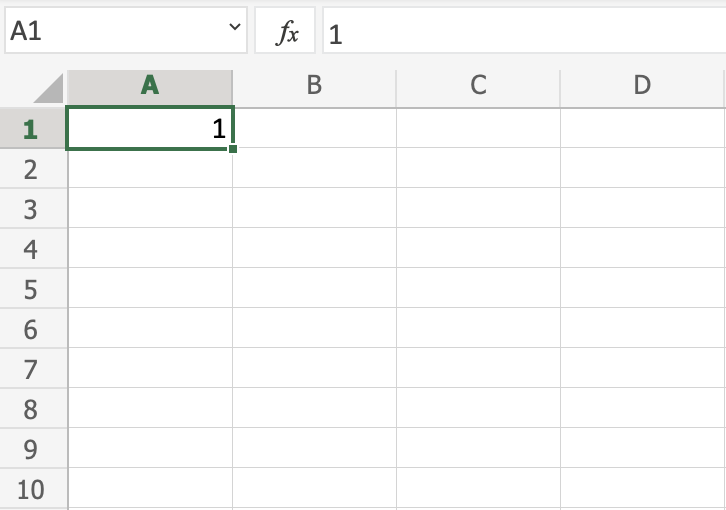
Start with typing A1(1):
First we will show an example which does not work, then we will do a working one. Ready?
Lets type the value (1) into the cell A2, which is what we have in A1. Now we have the same values in both A1 and A2.
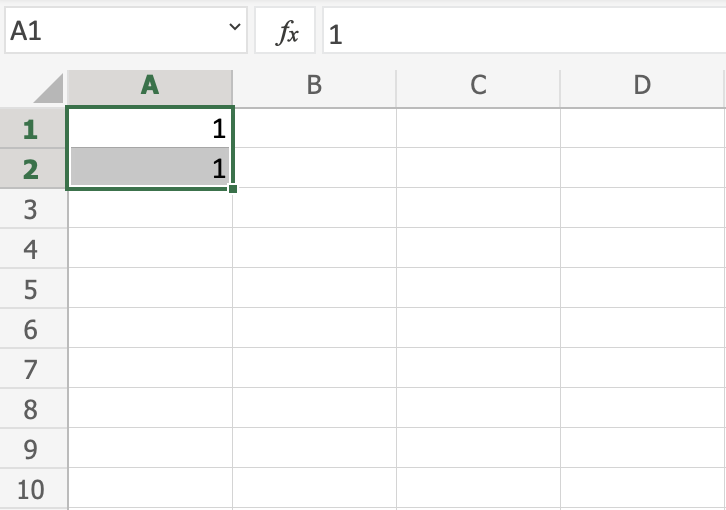
Let's use the fill function from A1:A10 to see what happens. Remember to mark both values before you fill the range.
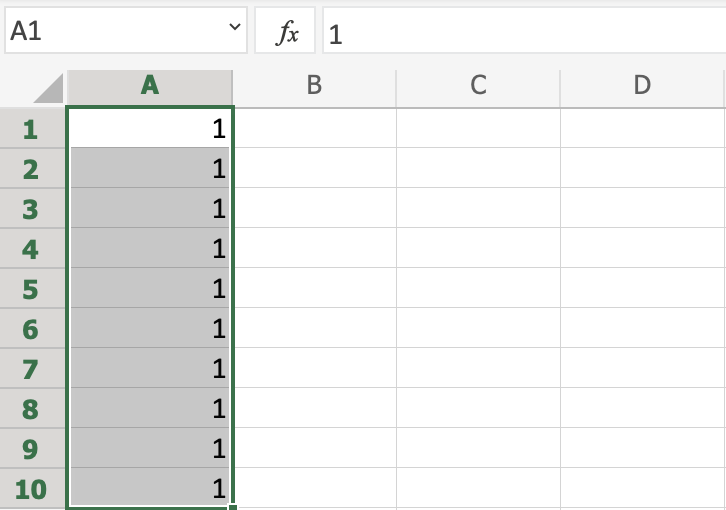
What happened is that we got the same values as we did with copying. This is because the fill function assumes that we want to create copies as we had two of the same values in both the cells A1(1) and A2(1).
Change the value of A2(1) to A2(2). We now have two different values in the cells A1(1) and A2(2). Now, fill A1:A10
again. Remember to mark both the values (holding down shift) before you fill the
range:
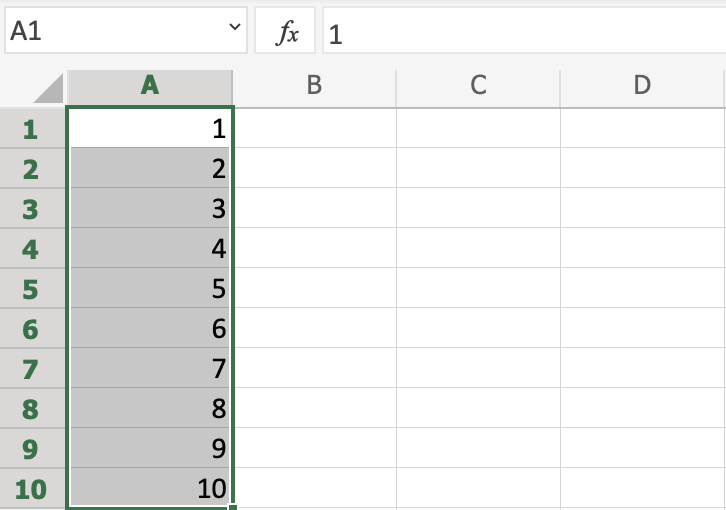
Congratulations! You have now counted from 1 to 10.
The fill function understands the pattern typed in the cells and continues it for us.
That is why it created copies when we had entered the value (1) in both cells,
as it saw no pattern. When we entered (1) and (2) in the cells it was able to understand the pattern and that the next cell A3 should be (3).
Let's create another sequence. Type A1(2) and A2(4):
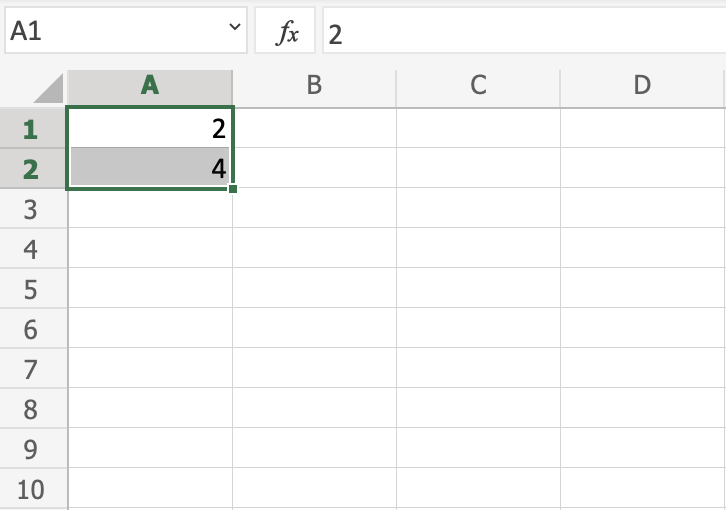
Now, fill A1:A10:
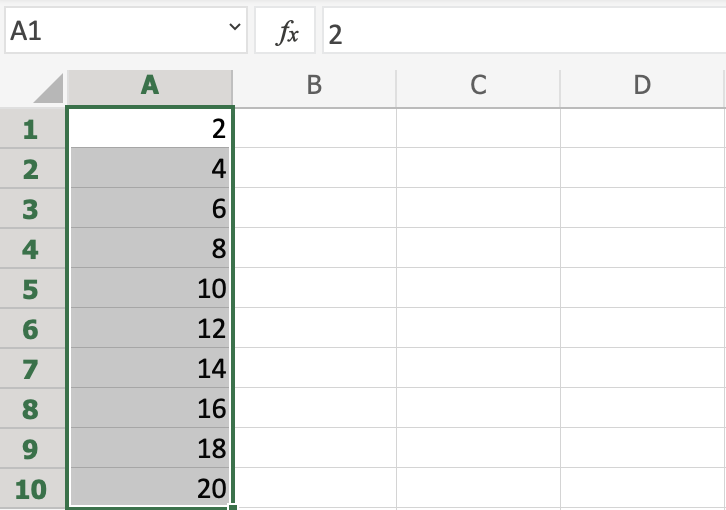
It counts from 2 to 20 in the range A1:A10.
This is because we created an order with A1(2) and A2(4).
Then it fills the next cells, A3(6), A4(8), A5(10) and so on. The fill function understands the pattern and helps us continue it.
Sequence of Dates
The fill function can also be used to fill dates.
Test it by typing A1(29.07.2021):
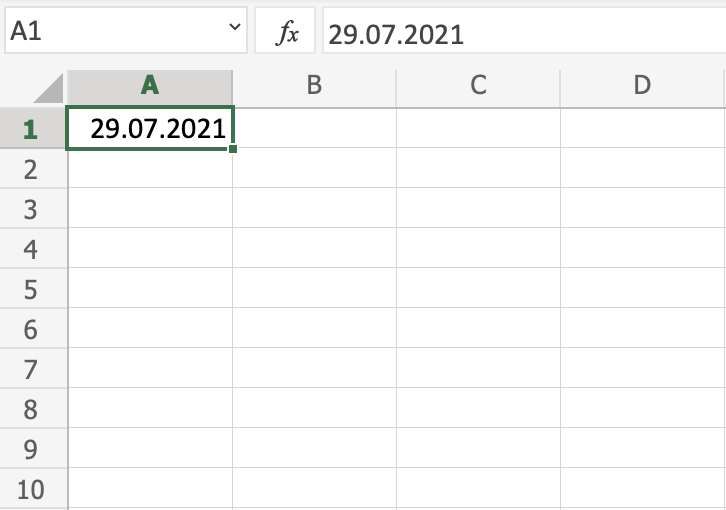
And fill the range A1:A10:
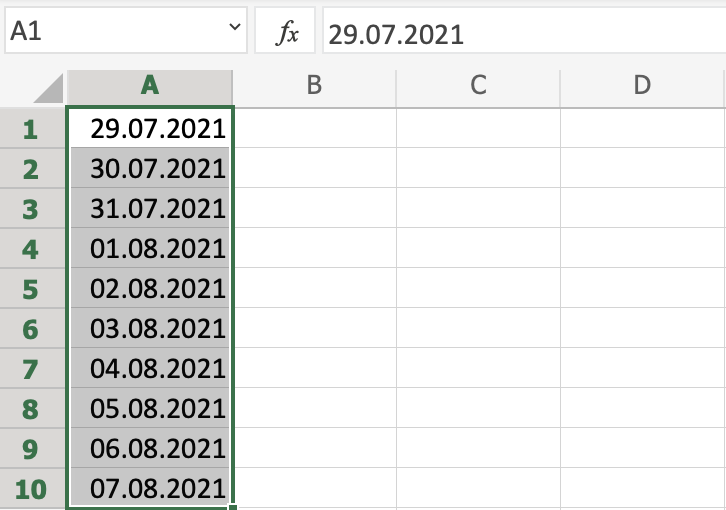
The fill function has filled 10 days from A1(29.07.2021) to A10(07.08.2021).
Note that it switched from July to August in cell A4. It knows the calendar and will count real dates.
Combining Words and Letters
Words and letters can also be combined.
Type A1(Hello 1) and A2(Hello 2):
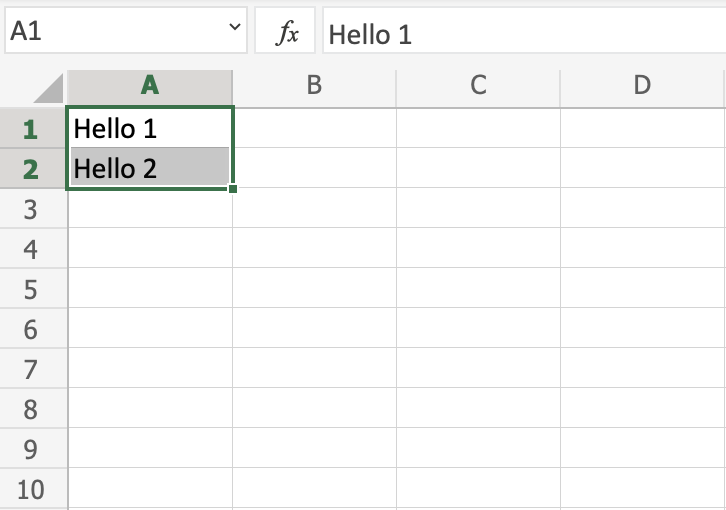
Next, fill A1:A10 to see what happens:
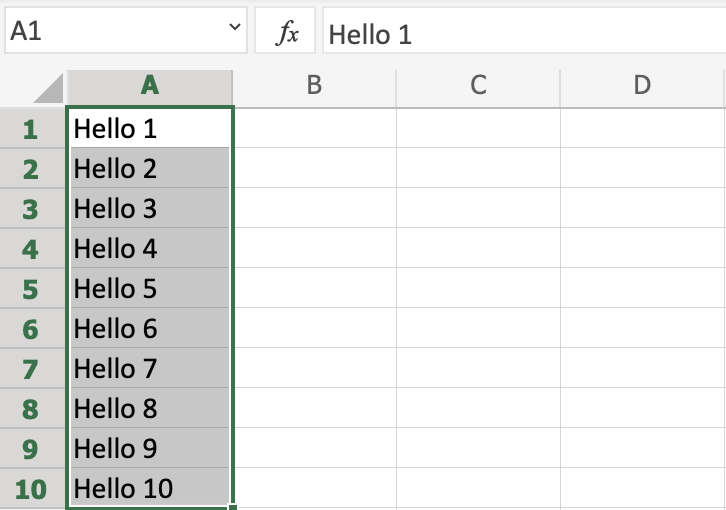
The result is that it counts from A1(Hello 1) to A10(Hello 10). Only the numbers have changed.
It recognised the pattern of the numbers and continued it for us. Words and numbers can be combined, as long as you use a recognizable pattern for the numbers.


